Floating Dock Installation Stages: From Pontoon Arrival to Ready for Use
Understand the floating dock installation stages in order: site preparation, assembling pontoon rows, framing, decking, railings, mooring, and the final inspection.
What actually happens between the moment the pontoons come off the truck and the moment the first visitor steps onto the deck? For project owners, this stretch often feels like a black box. Yet understanding the floating dock installation stages helps you prepare the site, arrange access, and know when certain decisions need to be made.
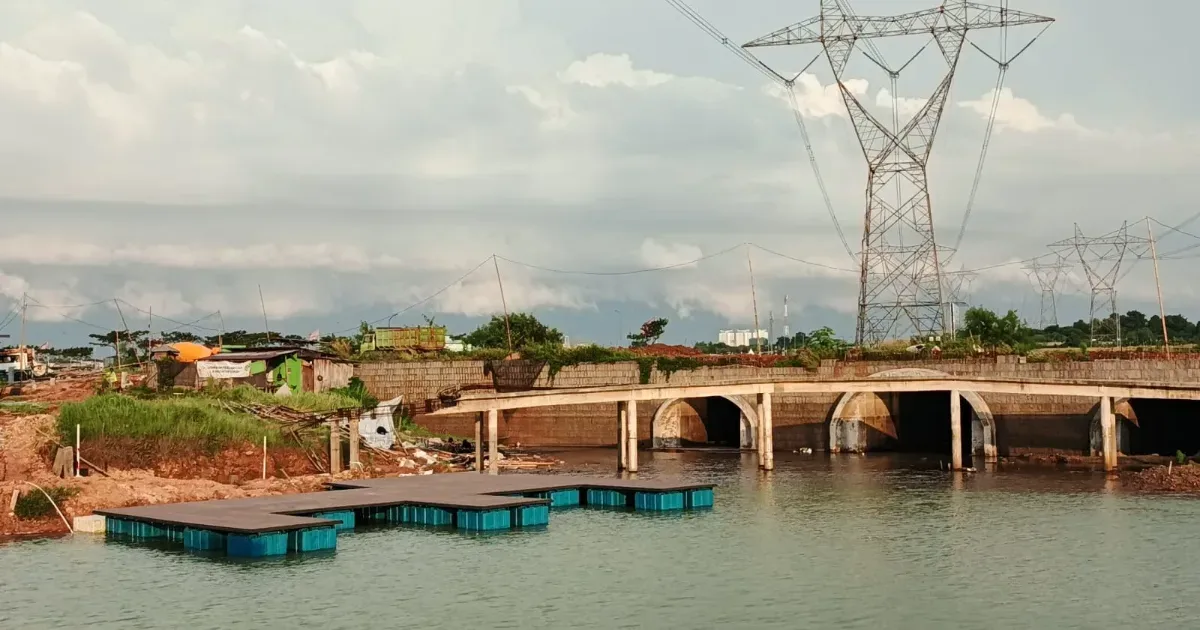
This article outlines the general sequence for installing a modular floating dock. As an illustration, we include documentation from a floating dock project in Serpong, Banten. The sequence may differ slightly at each site, depending on access, water conditions and the dock design.
An Overview of the Floating Dock Installation Stages
In general, the floating dock installation stages can be summarised as follows:
- Site preparation: checking materials and preparing the work area and launch point.
- Assembling pontoon rows: connecting pontoon units according to the working drawings, on the shore or directly in the water.
- Frame installation: fitting a frame on top of the pontoon string to tie the structure together.
- Decking and railings: installing the floor and safety railings.
- Mooring: positioning the dock and connecting it to the mooring system.
- Final inspection: checking all connections, levelness and completeness before handover.
Each of the floating dock installation stages depends on the others. Pontoon rows that are not straight make the frame harder to fit, and a frame that is out of alignment will show in the decking. That is why small checks at each stage are far more efficient than taking things apart again at the end of the job.
Site Preparation and Assembling Pontoon Rows
Field work begins by matching the delivered materials against the requirements list, then preparing a work area at the water's edge. This area should be flat, free of sharp objects, and close to a gently sloping launch point. The dock position and mooring points are marked with reference to the working drawings and the floating dock site survey data.
Next, the pontoon units are connected into rows according to the layout. Where the bank slopes gently, rows can be assembled on the shore and then pushed into the water. At other sites, it is more practical to assemble directly in the water. During this stage, the orientation and alignment of each row need checking so that the frame will sit neatly later. Workers on the water should wear life jackets.
Before work on the water begins, the team also considers the weather, the current and boat traffic around the site. Strong winds or a fast current can drag pontoon rows that are not yet moored, so assembled rows need to be tied temporarily to the bank.
Assembling the Frame on the Pontoon String
The frame ties the pontoons into a single structure, spreads the load, and serves as the base for the decking. At the floating dock project in Serpong, Banten, a grid-pattern frame was fitted on top of a string of blue pontoons already on the lake.
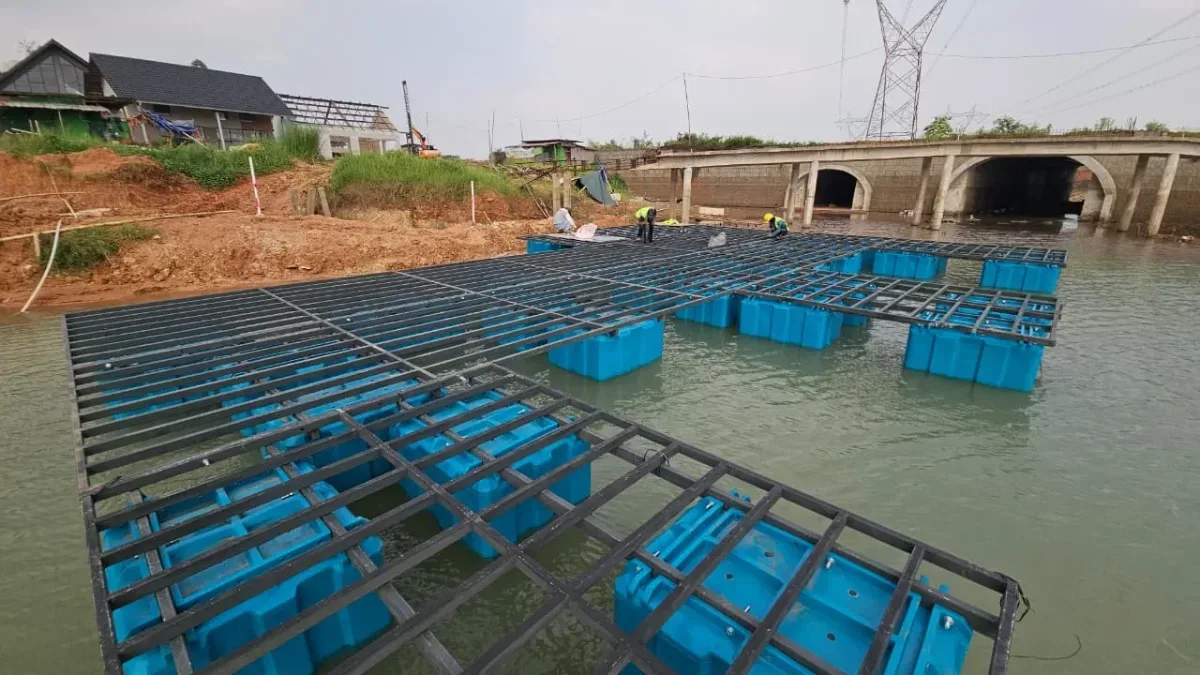
A black steel frame in a grid pattern being fitted on top of blue pontoons on the lake, at a floating dock project in Serpong, Banten. Source: Bajau Indo documentation
The same documentation shows workers assembling the frame directly on the floating pontoons. This allows the team to adjust the position of the pontoons and frame while seeing the actual conditions on the water. Each connection is tightened according to the working drawings before the team moves on to the next section.
The frame material, for example aluminium or galvanised steel, is decided at the design stage according to the project's needs. In the field, what matters most is making sure the frame is installed according to the drawings and that every connection point can be reached for maintenance later on.
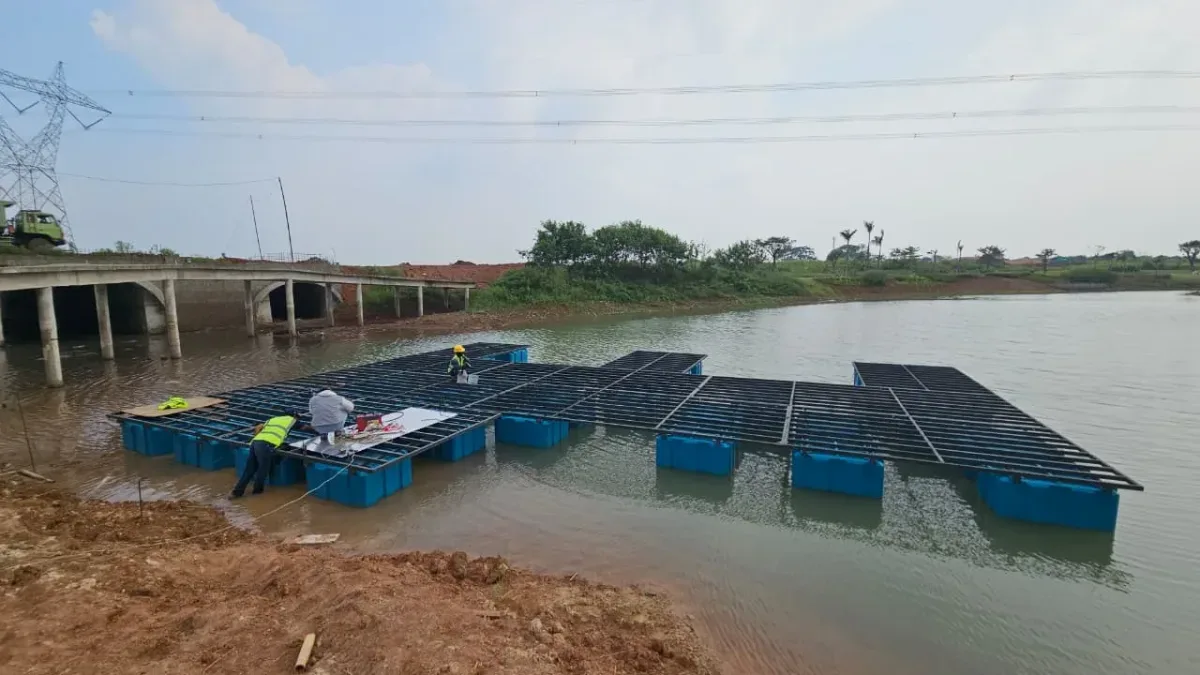
Workers assembling the frame directly on top of a string of blue pontoons already afloat, at a floating dock project in Serpong, Banten. Source: Bajau Indo documentation
Installing Decking, Railings, and Mooring the Dock
Once the frame is complete and aligned, the decking is installed on top. The choice of floor material, for example WPC or aluminium bordes, affects the appearance, weight and maintenance. The considerations are discussed in the guide to choosing floating platform decking. Railings are fitted along the sides that need protection, especially areas used by the public.
The next stage is mooring the dock. The dock is moved to its final position, then connected to a mooring system chosen on the basis of depth, the type of bed and changes in water level. You can learn the principles of anchors, guide piles and chains in the article on floating dock mooring systems. If there is a gangway, its connection to the shore is also installed at this stage.
Final Inspection Before the Dock Goes into Use
Before handover, the dock is inspected thoroughly. In general, the checks cover:
- Deck levelness and the tilt of the dock when unloaded.
- Bolt tightness and the condition of connections between pontoons and the frame.
- The position and slack of the mooring lines or chains.
- The sturdiness of the railings and the transition from gangway to deck.
- Clearing the site of leftover materials, bolts and offcuts.
At handover, the operator should receive an explanation of usage limits, the points that need routine checks, and a contact for technical questions. Documentation of various projects, including their installation stages, can be found on the Bajau Indo projects page. Many operators also schedule a follow-up inspection once the dock is in use, as the final step in the floating dock installation stages.
Frequently Asked Questions
Are the pontoons assembled on land or directly in the water?
Both are possible. Where the bank slopes gently, pontoon rows can be assembled on land and then pushed into the water. At sites with steep or narrow banks, assembling directly in the water is often more practical.
How long does floating dock installation take?
There is no figure that applies to every project. The duration depends on the dock area, access to the site, weather and water conditions, and how ready the work area is. The schedule is set per project once survey data is available.
Does the surrounding area need to be closed during installation?
The work areas on land and on the water should be cordoned off to keep visitors and workers safe. If the site is in a public area, coordinate the schedule and temporary signage with the management early on. That way, activities around the site can continue without disrupting the installation.
Want to understand the floating dock installation stages for your own site? Sketch an initial layout with the Bajau Indo Drawing Tool, then discuss it with our team via WhatsApp 0878-5931-4314 or marketing@bajauindo.com.
Written by
Tim Redaksi Bajau Indo
Tim Teknis & Redaksi
Tim teknis dan redaksi Bajau Indo — produsen dermaga apung, kubus apung, dan ponton modular LLDPE dari Sentul, Bogor.
Tags
Share this article: